
 |
| [image via singer22.com] |
Want to brighten your wardrobe? Start from the bottom up by dying your own jeans! The average woman owns 7 pairs of jeans, but only wears 3 of them regularly. Why not turn the other 4 into one of your new favorites?

I saw these gems online and had to have the light purple color, but didn't exactly have $86 to spend on a pair of shorts, so I turned to my own closet!
To start, choose a pair of light-wash jeans [or jean shorts] of any cut that you would like to spruce up. I chose an old pair of Aeropostale jean pants that I wanted to make into shorts.


Next, cut the legs off of the shorts to your desired length. I put the pants on and marked the leg a little under where I wanted to cut (this part will be discarded after cut off so it's okay to use a permanent marker). Remember that if you want to fold the bottoms up to make them cuffed, cut longer than the desired length.

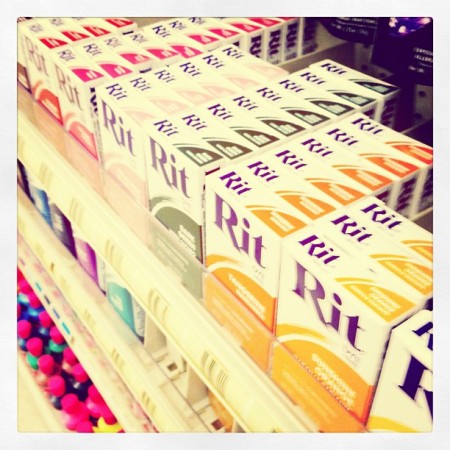
Next comes the fun part! There is a variety of dyes and dying techniques you can use, but my favorite is RIT-Powdered Fabric Dye. I went to JoAnn Fabrics & they had an entire section of Rit dyes in all different colors, all $1.99!
Here is a photo of the shelf in the store:
And the purple color I chose:

1. To begin the dying procedure, first prepare the dye solution by mixing half of the package of dye into 1 cup of hot water (140 degrees).
2. Presoak the jeans in a sink or pot of room temperature water.
3. Place a large pot on the stove and fill it with enough water for the denim to move freely and waited for the water to come to a boil.
4. Slowly stir the dye solution into the boiling water.
5. Reduce the boiling water to a simmer and add the presoaked jeans to the dye bath.
6. Stir the garment in the dye bath with a wooden spoon for a constant 30 minutes until your desired color is achieved! Also note that once rinsed, the color will be significantly lighter, so don't be scared if yours look darker than you wanted!
7. Take the jeans out of the dye bath and to a sink. Rinse in warm then gradually cooler water until the color of the water runs clear.
8. Place the rinsed jeans in the washing machine with a mild detergent.
9. Finally, put the shorts in the dryer for about 30 minutes and you're done!
When I took my shorts out of the dryer, they had been dyed a solid purple that had reached every part of the fabric. The color was consistent throughout the garment; everything had received the dye including the stitching, the pockets, and even the tags on the jeans.
Next I embellished my jeans with pyramid clip-in studs.

I got the sheet of 144 studs pictured below for $3.99 at JoAnn Fabrics!

I placed the studs on the front and back pockets just to give the shorts a little more pizazz!
Next, I frayed the bottoms of the jeans by pulling at the threads to create a tattered, worn look. I turned the bottoms up and ironed them to create a cuff.
Once studded and ironed, you're done!!

I know it seems like a lot of steps, but just think of it like a recipe! It's really easy, I promise, and in the end you'll be so happy with your new addition to your wardrobe!
Revamped Vintage Price:
Dye - $1.99 + tax
Studs - $3.99 + tax
Total: roughly $6.50
m2f price:
$86.00 +tax
Shipping: roughly $9.00
Total: roughly $95
Revamped Vintage Price:
Dye - $1.99 + tax
Studs - $3.99 + tax
Total: roughly $6.50
m2f price:
$86.00 +tax
Shipping: roughly $9.00
Total: roughly $95
See how much you can save when you DIY the Revamped Vintage way? Stay tuned for more, fashionistas!
- A.P.
No comments:
Post a Comment